There’s nothing quite like the creamy, luxurious taste of homemade maple ice cream. It’s a delightful treat that captures the essence of autumn and pairs beautifully with everything from apple crisp to pecan pie. While some recipes opt for an egg-free base, incorporating eggs into your ice cream custard elevates the texture to an unparalleled level of silkiness and richness. This traditional method, however, requires one crucial step: tempering the eggs. Don't be intimidated; tempering is a straightforward technique that ensures food safety and guarantees a perfectly smooth, delectable frozen dessert. Let’s dive into why eggs are a game-changer for your homemade maple ice cream and how to master the art of tempering them.
Why Eggs Make All the Difference (and Why Tempering is Essential)
When you encounter a truly exceptional ice cream, one that's incredibly creamy and melts slowly on your tongue without feeling icy, chances are it has an egg-custard base. Eggs play several vital roles in achieving this superior texture:
- Richness and Body: Egg yolks are packed with fat and protein, contributing a luxurious richness and a more substantial body to the ice cream. This creates a satisfying mouthfeel that egg-free versions often lack.
- Emulsification: The lecithin in egg yolks acts as a natural emulsifier, helping to bind the fats and liquids in the custard. This results in a smoother, more stable mixture that’s less prone to separating.
- Anti-Crystallization: One of the biggest challenges in homemade ice cream is preventing the formation of large, icy crystals. Eggs help to lower the freezing point of the mixture and interfere with ice crystal growth, leading to that coveted silky-smooth texture.
- Slow Melting: The proteins in egg yolks create a more stable structure for the ice cream, allowing it to melt more slowly and gracefully, giving you more time to savor each spoonful.
Given these incredible benefits, it's clear why eggs are a cornerstone of many classic ice cream recipes. However, working with raw eggs brings a potential concern: salmonella. This is where tempering comes in. Tempering is the process of gently raising the temperature of egg yolks by gradually incorporating a hot liquid, thereby cooking them to a safe temperature without scrambling them. It’s a small extra step that ensures both safety and an impeccably smooth custard.
Choosing Your Maple Syrup: The Heart of Your Homemade Maple Ice Cream
Before we delve into the tempering process, let's talk about the star ingredient that gives your ice cream its distinctive character: maple syrup. For truly exceptional homemade maple ice cream, quality is paramount. Ditch the pancake syrup imposters and reach for real, 100% pure maple syrup. The difference in flavor is astounding.
When selecting your maple syrup, you'll typically find two main grades in stores:
- Grade A Maple Syrup: This is the most common variety, often lighter in color with a delicate, subtle maple flavor and a thinner consistency. It's excellent for pancakes, waffles, and as a general sweetener where you want a hint of maple without overwhelming other flavors.
- Grade B Maple Syrup (now often labeled as Dark Robust Taste): This grade is darker, thicker, and boasts a much stronger, more intense maple flavor. It's harvested later in the maple season and its robust profile makes it ideal for baking and cooking, where you want the maple flavor to truly shine through.
For your homemade maple ice cream, especially if you, like us, are a true maple enthusiast, we highly recommend using Grade B maple syrup (or the darkest available, often labeled "Dark Robust Taste"). Its powerful, concentrated flavor will stand up beautifully to the richness of the cream and eggs, ensuring that every bite is bursting with authentic maple goodness. The depth of flavor it brings is irreplaceable. To learn more about selecting the best maple syrup for your culinary adventures, check out our guide on Grade B Maple Syrup: Your Secret to Rich Homemade Ice Cream.
Tempering Eggs for Silky Smooth Maple Ice Cream: A Step-by-Step Guide
Now for the main event: tempering the eggs. This process, while requiring attention, is far from difficult and is key to achieving that perfectly smooth homemade maple ice cream custard.
Ingredients Needed for the Custard Base:
- Grade B maple syrup (or darkest available)
- Egg yolks (typically 4-6, depending on the recipe's richness)
- Whole milk
- A pinch of salt
- Heavy cream
The Tempering Process:
- Prepare Your Egg-Maple Mixture: In a medium-sized bowl, whisk together your egg yolks and a portion of your maple syrup until thoroughly combined and slightly lighter in color. The maple syrup helps to stabilize the egg yolks and adds flavor from the start. Set this aside.
- Heat the Milk: In a heavy-bottomed medium saucepan, combine your whole milk and salt. Heat this mixture over medium-high heat, stirring occasionally, until it just barely reaches a boil – look for small bubbles forming around the edges. Immediately remove it from the heat. A heavy-bottomed pan is crucial here as it distributes heat more evenly, preventing scorching.
- The Gradual Introduction (Tempering): This is the most critical step. While continuously whisking the egg-maple mixture vigorously, slowly pour about ½ cup of the hot milk into the egg mixture in a thin, steady stream. The continuous whisking prevents the eggs from cooking too quickly and scrambling. You are essentially bringing the eggs' temperature up gradually, equalizing it with the hot liquid.
- Combine Mixtures: Once the ½ cup of hot milk has been thoroughly incorporated into the egg mixture, pour the warmed egg mixture back into the saucepan with the remaining hot milk. Stir well to combine.
- Stir in the Cream: Add the heavy cream to the saucepan and stir to fully incorporate it into the milk and egg mixture.
- Cook the Custard: Return the saucepan to low heat. Cook, stirring constantly with a wooden spoon or heat-proof spatula, until the mixture thickens enough to coat the back of your spoon (this is often called "nappe" consistency). If you run your finger across the spoon and the line holds, it's ready. This usually takes about 5-10 minutes. Do not boil the custard at this stage, or the eggs will curdle. Keep the heat low and be patient.
- Strain for Perfection: As an extra measure to ensure ultimate smoothness and remove any tiny bits of cooked egg or lumps, immediately pour the hot custard mixture through a fine-mesh sieve into a clean bowl. This step is optional but highly recommended for truly silky ice cream.
- Chill Thoroughly: Let the custard cool at room temperature for about 20 minutes. Then, cover the bowl with plastic wrap, pressing it directly onto the surface of the custard to prevent a skin from forming. Refrigerate overnight, or until the custard is completely chilled through (at least 4-6 hours). This chilling time is crucial not just for cooling, but for the flavors to meld and mature, resulting in a more delicious ice cream base.
- Churn and Ripen: Once thoroughly chilled, churn the custard in your ice cream maker according to the manufacturer's instructions. After churning, for optimal texture, transfer the freshly churned, soft ice cream to an airtight container and freeze for several hours to "ripen" or harden to a firmer consistency.
Troubleshooting Tips:
- Scrambled Eggs: If you add the hot milk too quickly or don't whisk constantly, you might end up with bits of scrambled egg. Don't panic! Simply strain the mixture through a very fine-mesh sieve. It won't be perfectly smooth but will still be edible.
- Custard Won't Thicken: Ensure you're cooking over low heat and stirring continuously. It takes time. If after 10-15 minutes it's still too thin, slightly increase the heat but continue stirring vigilantly. Using an instant-read thermometer to reach 170-175°F (77-79°C) can also help.
- Skin Formation: Always press plastic wrap directly onto the surface of the custard when chilling to prevent a skin from forming, which can lead to lumps.
Serving Your Homemade Maple Ice Cream
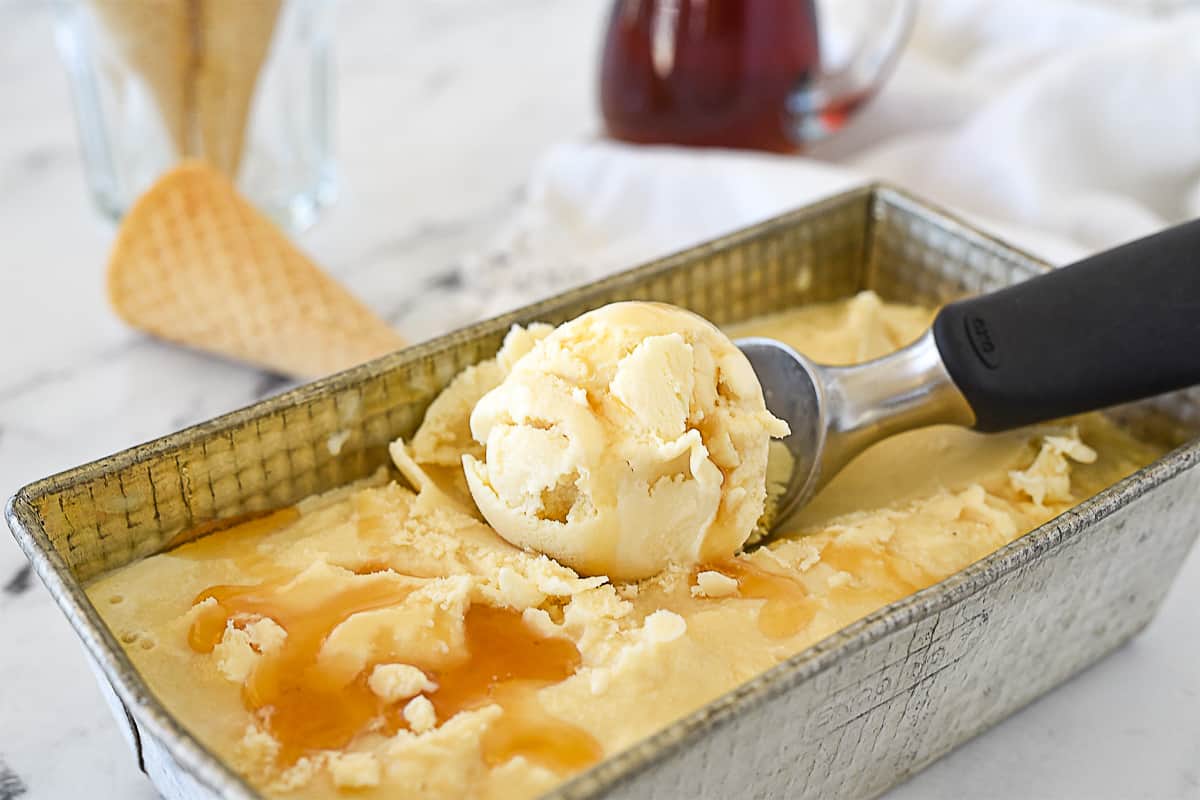
Once your homemade maple ice cream has ripened to perfection, it’s ready to be enjoyed! This rich, creamy treat is incredibly versatile. While it’s utterly delicious on its own, perhaps with an extra drizzle of good quality maple syrup, it truly shines when paired with other desserts. Imagine a scoop alongside a warm slice of gluten-free apple crisp, a decadent pecan pie, or even a traditional pumpkin pie. The creamy maple flavor beautifully complements the spiced, fruity, or nutty notes of these fall favorites. While vanilla often takes the lead with cherry pie, for nearly every other holiday or comfort dessert, maple ice cream is a clear winner, especially with apple-based treats.
Making homemade maple ice cream from scratch, complete with a tempered egg custard, is a rewarding culinary adventure. It allows you to control the quality of ingredients, ensuring a pure, intense maple flavor that mass-produced ice creams can’t match. The initial effort of tempering the eggs pays dividends in a final product that is exquisitely smooth, rich, and truly unforgettable.
Conclusion
Tempering eggs for your homemade maple ice cream may seem like an extra step, but it’s a small investment of time that yields immense rewards. This technique ensures food safety while transforming your custard into a lusciously smooth, creamy, and wonderfully rich base for your ice cream. Coupled with the robust flavor of high-quality Grade B maple syrup, you’ll create a frozen dessert that is not only safe to eat but also incredibly delicious and satisfying. So, embrace the process, take your time, and prepare to indulge in the best homemade maple ice cream you’ve ever tasted!
