Grade B Maple Syrup: Your Secret to Rich Homemade Ice Cream
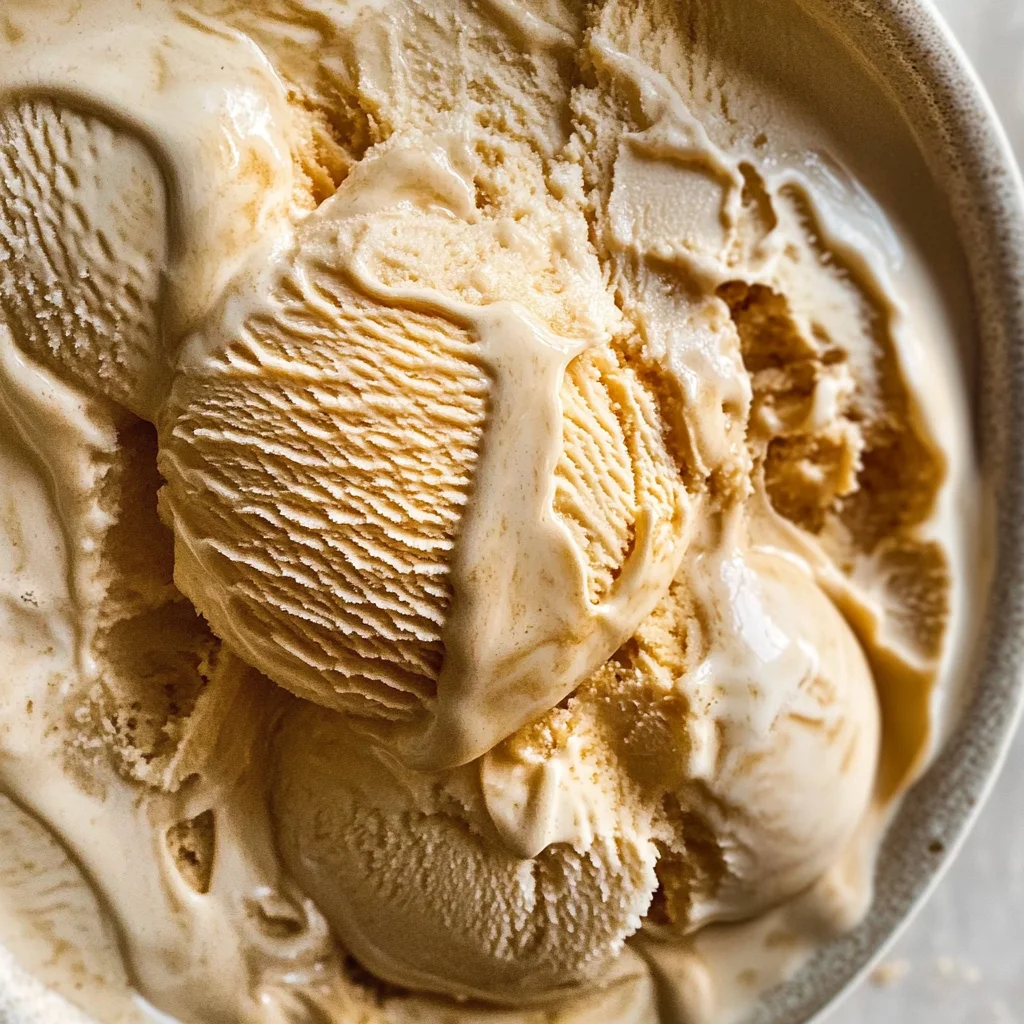
There's something uniquely satisfying about a scoop of perfectly churned, impossibly creamy ice cream, especially when it's made right in your own kitchen. While vanilla and chocolate have their timeless appeal, for those seeking a truly distinctive and comforting flavor, homemade maple ice cream stands in a league of its own. It’s a flavor that evokes autumn leaves, cozy evenings, and holiday feasts, delivering a warmth and depth that few other desserts can match. But what if we told you there’s a simple secret to elevating your maple ice cream from merely delicious to utterly extraordinary? The answer lies in your choice of maple syrup, specifically, embracing the robust character of Grade B.
Forget the notion that all maple syrups are created equal. For a truly rich and flavorful homemade maple ice cream, Grade B maple syrup (or its modern equivalent, "Dark, Robust Taste") isn't just an option; it's the essential ingredient that unlocks unparalleled depth and a silky smooth finish. This article will guide you through understanding why this darker, more intensely flavored syrup is the key to your best ever homemade frozen treat, offering insights, tips, and a foundational understanding of the crafting process.
Why Homemade Maple Ice Cream Reigns Supreme
In a world saturated with mass-produced desserts, homemade maple ice cream offers a refreshing escape. Unlike many store-bought varieties that rely on artificial flavorings, a homemade version, sweetened solely with real maple syrup, delivers an authentic, nuanced taste that is both comforting and sophisticated. It boasts a perfectly creamy texture and a silky smooth mouthfeel that's simply irresistible.
This isn't just any ice cream; it's a culinary chameleon, capable of complementing an astonishing array of desserts. Picture a generous scoop melting gracefully over a warm slice of apple pie or crisp, its creamy maple notes intertwining with the spiced fruit. It’s equally divine alongside a rich pecan pie or a classic pumpkin pie, making it an absolute showstopper for holiday gatherings and autumnal celebrations. In fact, for many, it becomes the first choice over vanilla for almost every dessert, with the notable exception of tart cherry pie. The harmonious blend of creamy maple with the comforting flavors of fall, particularly apple-based dishes, creates an experience that truly elevates any meal. The ability to make it ahead and freeze it also makes it a convenient and elegant option for entertaining.
Unlocking Deeper Flavor: The Grade B Maple Syrup Difference
The quest for truly exceptional homemade maple ice cream begins with understanding your sweetener. If you've ever stood in the syrup aisle pondering the different grades of maple syrup, you've touched upon the secret to superior flavor. Real maple syrup comes in various grades, and while they are all 100% pure maple, their flavor profiles and consistencies differ significantly.
Historically, maple syrup was classified into Grade A and Grade B. While the labeling system has evolved, the essence of these distinctions remains crucial for culinary applications. Here's a quick breakdown:
- Grade A (Light Amber / Golden, Delicate Taste): This is the most common and often what people reach for. It's typically collected at the beginning of the maple sugaring season. It has a lighter color, a thinner consistency, and a delicate, subtle maple flavor. It's excellent for drizzling over pancakes or waffles when you want a mild sweetness that doesn't overpower.
- Grade B (Dark Amber / Dark, Robust Taste): This is your secret weapon for baking and, critically, for your homemade maple ice cream. Collected later in the season, Grade B syrup is notably darker in color and boasts a much stronger, more intense, and caramel-like maple flavor. It also tends to be slightly thicker. Its robust character means that its wonderful flavor stands up better when mixed with other ingredients or subjected to cooking processes, truly shining through in desserts where you want the maple to be the star.
For your homemade maple ice cream, Grade B (or the "Dark, Robust Taste" equivalent) is the unequivocal choice. Its deep, concentrated flavor ensures that the maple essence isn't lost amidst the richness of the cream and milk. You'll achieve that distinct, full-bodied maple profile that simply isn't possible with lighter syrups. Always opt for real maple syrup – none of those artificial, corn-syrup-based "pancake syrups" will deliver the authentic taste or quality you're aiming for.
Crafting Your Silky Smooth Homemade Maple Ice Cream: A Step-by-Step Journey
Creating homemade maple ice cream is a rewarding process, resulting in a dessert that's far superior to anything store-bought. The key to its luxurious texture and rich flavor lies in a few precise steps, primarily the creation of a cooked custard base.
Essential Ingredients:
- Grade B Maple Syrup: As discussed, choose the darkest, most robust-tasting pure maple syrup available.
- Egg Yolks: These are crucial for richness, body, and preventing ice crystal formation, contributing to that desirable silky smoothness.
- Whole Milk & Heavy Cream: The foundation of any great ice cream, providing the fat content for creaminess.
- A Pinch of Salt: Enhances all the flavors, balancing the sweetness of the maple.
The Custard Base: Where Magic Happens
The heart of this recipe is a French-style custard, or *crème anglaise*, which involves tempering eggs. This step, while adding a little time, is absolutely vital for food safety and achieving the perfect texture. For a more detailed guide on this crucial step, read our article: Tempering Eggs for Homemade Maple Ice Cream: A Simple Guide.
Here’s a general overview of the process:
- Prepare the Egg Mixture: In a bowl, whisk together the Grade B maple syrup with your egg yolks until well combined and slightly lighter in color.
- Heat the Milk: In a medium saucepan, gently heat the whole milk and a pinch of salt over medium-high heat. Bring it just to a boil, then immediately remove it from the heat.
- Tempering the Eggs: This is the critical step to prevent scrambling. While whisking the egg yolk mixture constantly, slowly pour about ½ cup of the hot milk into it. This gradually raises the temperature of the eggs without cooking them.
- Combine and Thicken: Pour the warmed egg mixture back into the saucepan with the remaining hot milk. Stir in the heavy cream. Return the saucepan to low heat and cook, stirring constantly with a spoon or rubber spatula, until the mixture thickens enough to coat the back of your spoon. Do not let it boil, or the eggs will curdle.
- Strain for Smoothness: To ensure a perfectly silky base, pour the custard through a fine-mesh sieve into a clean bowl. This removes any tiny lumps or cooked bits of egg, guaranteeing an ultra-smooth ice cream.
- Chill Thoroughly: Let the custard cool at room temperature for about 20 minutes, then cover it with plastic wrap (pressing it directly onto the surface to prevent a skin from forming) and refrigerate it overnight, or until it is completely chilled. This extended chilling time is crucial for both flavor development and churning efficiency.
Churning and Ripening for Perfection
Once your custard is perfectly chilled, it’s time for the final steps:
- Churn: Pour the chilled custard into your ice cream maker and churn according to the manufacturer's instructions. The mixture will typically have the consistency of soft-serve ice cream when done.
- Ripen: For a firmer, more scoopable texture, transfer the freshly churned ice cream to an airtight container and freeze it for at least 4-6 hours, or preferably overnight. This "ripening" period allows the ice cream to harden and for its flavors to fully develop.
For an extra burst of maple goodness, consider drizzling a little more Grade B maple syrup over each scoop just before serving. It’s a simple touch that elevates the experience even further!
Beyond the Scoop: Serving Suggestions and Customizations
While a bowl of homemade maple ice cream is a treat in itself, its rich, versatile flavor makes it an excellent accompaniment to a myriad of desserts and even savory dishes. As mentioned, it's a stellar partner for warm apple crisp, pecan pie, or pumpkin pie, but don't stop there.
- Breakfast Bliss: Serve a scoop alongside warm, fluffy pancakes or waffles for a luxurious brunch.
- Decadent Sundaes: Build a maple sundae with candied pecans, a sprinkle of sea salt, or even crispy bacon bits for an intriguing sweet-and-savory combination.
- Coffee Pairing: A small scoop stirred into your morning coffee or espresso creates a delightful maple latte effect.
- Seasonal Touch: Garnish with a light dusting of cinnamon or nutmeg, or a sprinkle of toasted walnuts.
For an adult twist, a dash of bourbon or a hint of smoked paprika could be incorporated into the custard base, adding another layer of complexity to your homemade maple ice cream. Store your finished ice cream in an airtight container in the coldest part of your freezer to maintain its quality and prevent freezer burn.
Conclusion
Embracing Grade B maple syrup is truly your secret weapon for crafting the most decadent, flavor-rich homemade maple ice cream. Its robust flavor profile ensures that the essence of maple shines through, creating a creamy, silky-smooth dessert that is both deeply comforting and sophisticated. From perfectly complementing your favorite fall desserts to standing alone as a star, this homemade treat will undoubtedly become a cherished recipe in your kitchen. So, the next time you're planning a special dessert, reach for that dark, rich Grade B syrup – your taste buds will thank you.
